- US Distribution #:
- Sales: (702) 381-4892
- Email: sales@virtualsetworks.com
- Try before you buy
- Format Info
- Tutorials
- Premiere Pro
- After Effects
- Final Cut Pro
- Vegas
- Wirecast
- Categories
- HD Editors
- 4K Editors
- Tricaster
- vMix
- Wirecast
- After Effects
- Photoshop
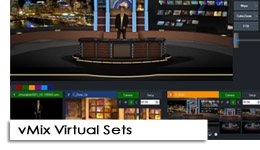
vMix Virtual Set Tutorial
|
vMix has a unique and powerful way of handling virtual sets that both gives the user amazing creative control and strong technical capabilities like camera movement and reflections.
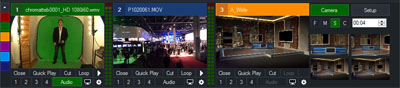
For this tutorial you will need a camera aimed at a greenscreen (or a clip of someone on greenscreen) and a video clip you will use for your b source (to put in the screens).
|
|
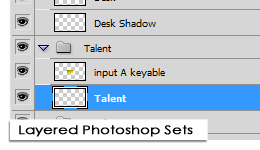
When your talent camera, screen clip, and virtual set are loaded your inputs list may look something like this. |
|
|
 You will find 5 layers in the Layer dropdown indicating Background, Room, Screens, Talent, and Overlay. It's possible, depending on the set that you may not have all of these layers. Background is generally what you see out the window, making changing skylines easy. Room is the set itself and shouldn't need any adjustment. Screens in this case is going to be the clip you loaded to put into the screens.
|
|
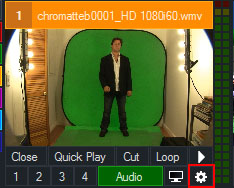 Next we'll be making some changes to the green screen input. Click the gear icon in the lower right corner to bring up the input settings window.
|
|
 Click Colour Key to bring up the chroma key settings and then click Auto Chroma Key. That should be all you have to do, it's pretty good.
|
|
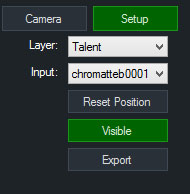
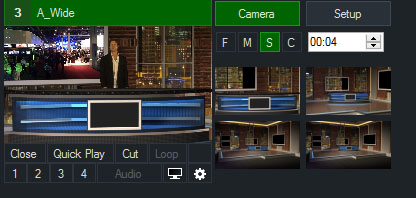 Next let's move on to virtual camera movement. Go back to your virtual set input and click the Camera button next to Setup.
|
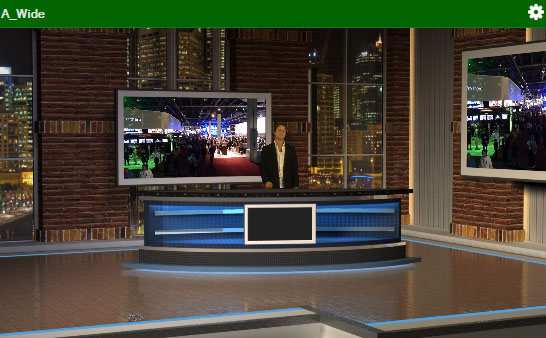
The finished virtual set composite should be your two inputs seamlessly integrated into the virtual set complete with reflections and camera movement.
|