- US Distribution #:
- Sales: (702) 381-4892
- Email: sales@virtualsetworks.com
- Try before you buy
- Format Info
- Tutorials
- Premiere Pro
- After Effects
- Final Cut Pro
- Vegas
- Wirecast
- Categories
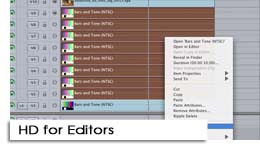
- HD Editors
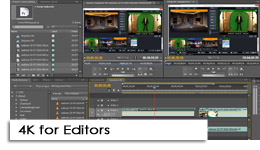
- 4K Editors
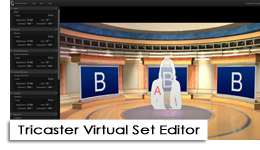
- Tricaster
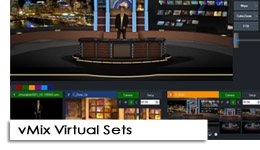
- vMix
- Wirecast
- After Effects
- Photoshop
Wirecast Virtual Set Tutorial
|
Installation
|
 Mac : /Library/Application Support/Wirecast/VirtualSets
|
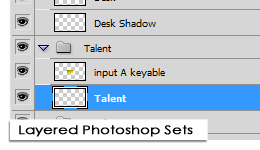
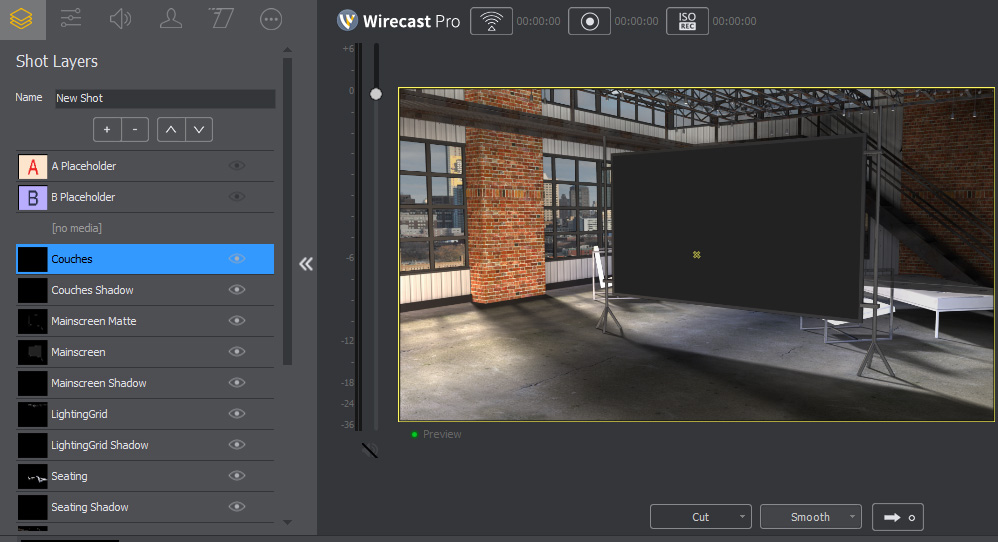
In your Shot Layers you should now have a list of layers and your Virtual Set in the preview window. You can turn off the A and B Placeholder by clicking the eye icon to toggle visibility. You can delete layers entirely by selecting them and clicking the minus (-) button.
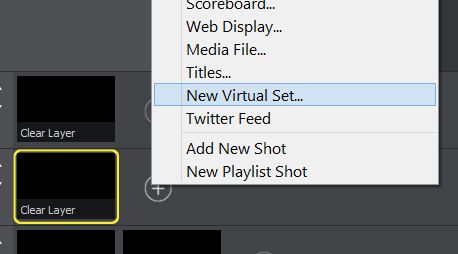
You can add a camera or click by clicking the plus (+) and choosing a camera. The up and down buttons will move your newly added layer up and down the layer list letting you put your talent behind a desk or your screen behind the frame layer for it. |
 Editing
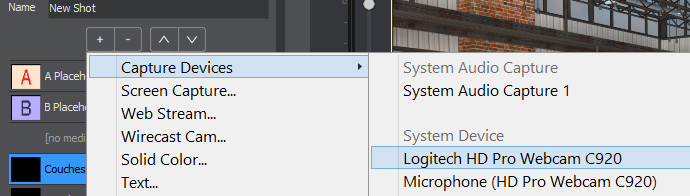
|
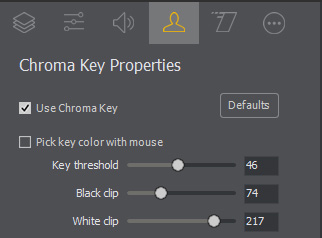
Check the Use Chroma Key box to turn Keying on. Next, check pick key color with mouse and click on the most media color in your shot. Slide the Key threshold up until all of your greenscreen is gone. You should be able to use the Black and White clip to bring back any parts of your talent that might have gotten removed by the Key threshold. This may leave you with some areas of your studio still to be dealt with, which is where the cropping panel comes in to play. |
|
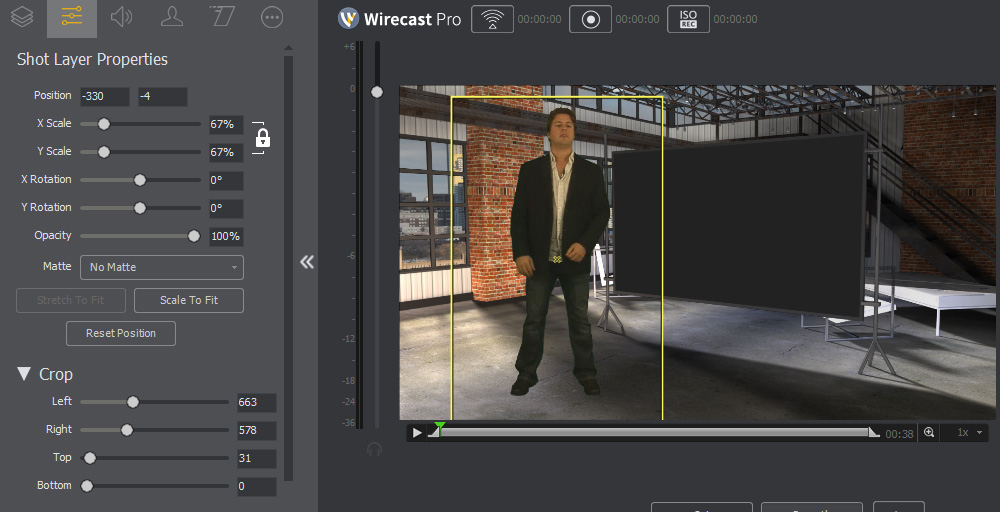
Cropping The Cropping controls can be found in the Shot Layer Properties under the Crop controls. Once your shot is clear of greenscreen and extra material you can also use the scale and position settings here to adjust where in the set your talent is placed. |
|
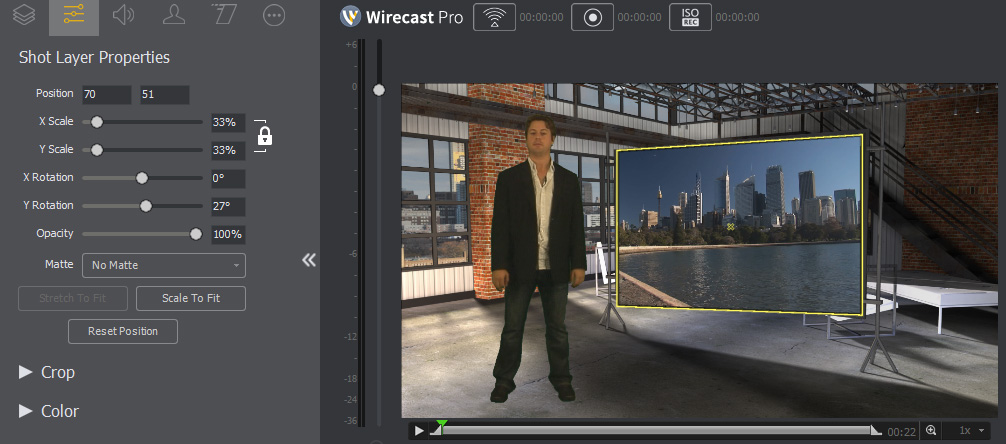
Adding Screens
|
|
Conclusion And there you have it, you're ready to stream live the best realtime virtual set production yet with Telestream Wirecast 7. Should you have any questions please feel free to reach out to us for answers. |